How to Find Planets and Stars With a Telescope
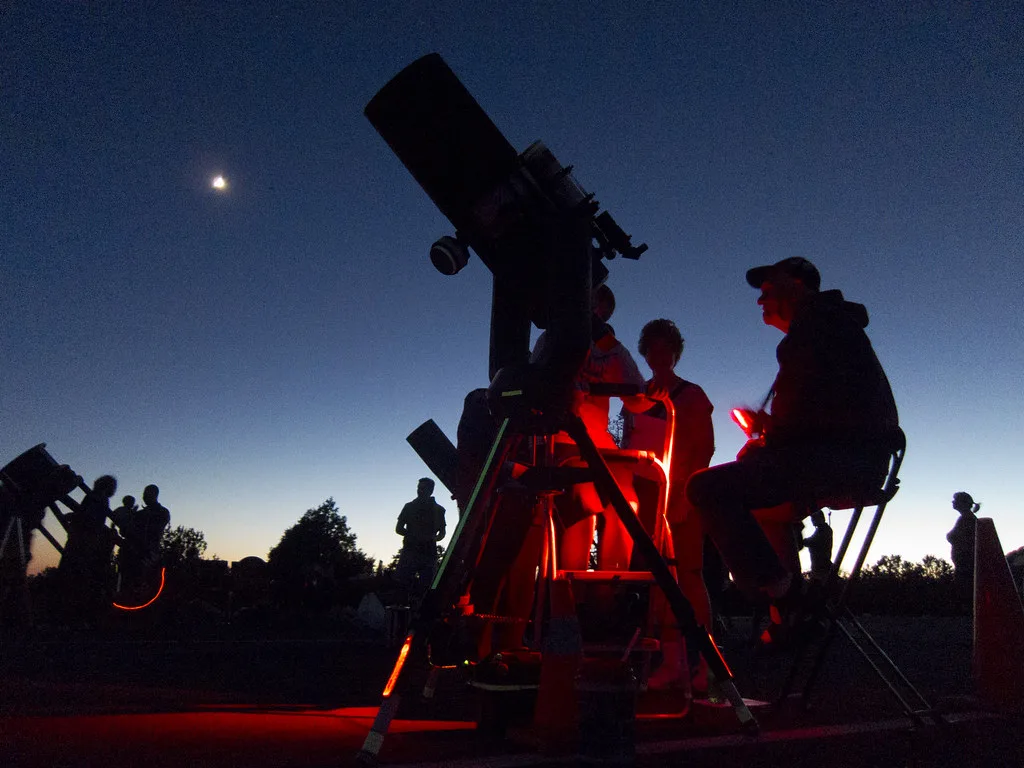
Learning how to find planets with a telescope is easier than most beginners fear, and finding fainter stars and deep-sky objects uses the exact same skill. Planets are the perfect place to start because the bright ones, Jupiter, Saturn, Venus and Mars, are visible to the naked eye, so you already know where to point before you look through the eyepiece. Once you can land a naked-eye planet in the field of view, you use the same finder-and-hop method to reach the faint smudges you cannot see without the scope. This guide covers both: pointing at the easy bright targets first, then star hopping to everything else.
Start with the planets you can already see
The four bright planets look like unusually steady, bright “stars” to the naked eye. Jupiter is a brilliant golden-white point, visible for much of the year. Saturn is slightly dimmer but rock-steady, and even a modest scope shows its rings. Venus is the brightest object in the sky after the Moon, low in the west after sunset or the east before dawn. Mars is a distinct orange-red.
The trick that separates planets from stars is twinkling. Stars twinkle; planets hold a steadier light because they show a tiny disc rather than a pinpoint. If a bright “star” is not flickering, it is very likely a planet, and that is your target for the night.
To know which planets are up tonight from your location, plan first with a free planetarium app. Stellarium runs on phones and computers and shows the sky for your exact time and place, so you can see where Jupiter or Saturn will sit before you go outside.
Align the finderscope first (the step that makes or breaks it)
Your finderscope is the small sighting scope on top of the tube, and it is the bridge between a naked-eye target and your telescope’s narrow view. A decent 8x50 finder shows around 5 degrees of sky; a low-power eyepiece in the main scope shows only about half a degree. Whatever you centre in an aligned finder will land in the eyepiece, so this alignment is the single most important setup step.
Do it in daylight, never on a star. Point the main telescope at a fixed distant object, a chimney or pylon several hundred metres away, centre it with your lowest-power eyepiece, then adjust the finder’s screws until the crosshairs sit on the same spot. Our full walkthrough of this is in the beginner telescope setup guide.
Point at a bright planet and drop in your lowest-power eyepiece
With the finder aligned, finding a planet is simple. Look up and spot the bright, non-twinkling point with your own eyes. Move the telescope until that point sits on the finder’s crosshairs. Then look in the main eyepiece, using your lowest-power eyepiece first, which is the one with the biggest number printed on it, usually 25mm or higher. Low power gives the widest field, so the planet is far easier to catch, and you can swap to a higher-power eyepiece once it is centred.
As a bare minimum, a 50mm refractor with a 25mm eyepiece will show Saturn’s rings and Jupiter’s cloud bands, though a 100mm or larger aperture reveals far more detail. Do not expect the colourful photographs you see online: through the eyepiece, Saturn is a small, sharp, buttery disc with rings, and Jupiter shows two or three brown belts and up to four bright moons in a line.
Star hopping: how to reach the faint stuff
Faint stars, star clusters, nebulae and galaxies are too dim to point at directly, so you get to them by star hopping. The idea is simple: start at a bright star you can see, then make a series of short jumps between fainter stars until you land on the target.
Here is the method:
- Find an anchor. Pick a bright, easy naked-eye star within about 5 to 10 degrees of your target. There is almost always one nearby.
- Plan the route on a chart or app. Trace a path from your anchor star to the target using intermediate stars as stepping stones. Stellarium or a printed star atlas both work.
- Centre the anchor in the finder. Point the scope so the anchor star sits on the finder crosshairs, then confirm it in the low-power eyepiece.
- Hop in small steps. Move to the next star along your planned path, no more than 2 to 3 degrees at a time. The most common beginner mistake is trying to jump too far in one go and getting lost.
- Switch to the main eyepiece and look. When you reach the target field, the object may appear as a faint smudge, a ghostly glow or a sprinkle of tiny stars rather than a bright shape.
Work from bright to dim, confirm your position at every step, and accept that a few wrong turns are normal at first. After a handful of sessions the sky starts to feel like a map you know.
If you find the target but it looks blurry
A soft or fuzzy planet is usually focus, not the finder. Turn the focus knob slowly until the disc snaps to its sharpest point, and give the scope 20 to 30 minutes outside to reach the air temperature, because warm optics in cold air blur the view. If detail still will not come, the optics may need aligning; see our guide to collimating a telescope. For a wider view of what your kit can realistically show, our roundup of what you can see with binoculars is a useful reality check.
For a deeper primer on catching Saturn and Jupiter specifically, Space.com’s observing guide is a reliable read.
Frequently asked questions
How do I find planets with a telescope as a beginner? Start with the bright planets you can see with the naked eye: Jupiter, Saturn, Venus and Mars. They look like steady, bright stars that do not twinkle. Align your finderscope in daylight, point it at the planet so it sits on the crosshairs, then look through your lowest-power eyepiece. The planet will drop straight into view.
How can I tell a planet from a star? Planets shine with a steady light, while stars twinkle. This is because a planet shows a tiny disc rather than a single point, so its light is less disturbed by the atmosphere. If a bright object holds a firm, non-flickering light, it is very likely a planet.
What is star hopping? Star hopping is a way to find faint objects you cannot see with the naked eye. You start at a bright anchor star, then make short jumps of 2 to 3 degrees between fainter stars, using a chart or app as a map, until you reach the target in your eyepiece.
Why can I not find anything through my telescope? The usual cause is a finderscope that is not aligned with the main tube. Align it in daylight on a distant fixed object, not on a star. Also use your lowest-power (highest-number) eyepiece to start, as it gives the widest field and makes targets far easier to catch.
What telescope do I need to see Saturn’s rings? A 50mm refractor with a 25mm eyepiece is the bare minimum to see Saturn’s rings and Jupiter’s cloud bands. A 100mm or larger aperture shows noticeably more detail, but even a small starter scope will reveal the rings on a steady night.
Do I need an app to find planets? No, but a free app like Stellarium makes it much easier by showing exactly where each planet sits from your location and time. You can plan your session indoors, then go out knowing which bright points are planets and where to look.
Clear skies forecast? Get a nudge.
Our weekly email flags the next good UK observing window and one easy target to find.
Join the listMore from Starvest
Keep reading
Best Telescopes for Beginners in the UK (Tested by Price Bracket)
The best beginner telescopes in the UK by budget, from sub-£150 tabletop scopes to app-guided and smart telescopes, with real 2026 prices.

What Can You See with Binoculars at Night? A Realistic Astronomy List
A realistic list of what you can see with binoculars in astronomy, from the Moon and Jupiter's moons to Andromeda, with tips for spotting each from the UK.

How to Set Up and Use Your First Telescope (Step by Step)
How to use a telescope as a beginner: assemble the mount, align the finder, focus, and find your first targets. A clear step-by-step UK guide.