How to Set Up and Use Your First Telescope (Step by Step)
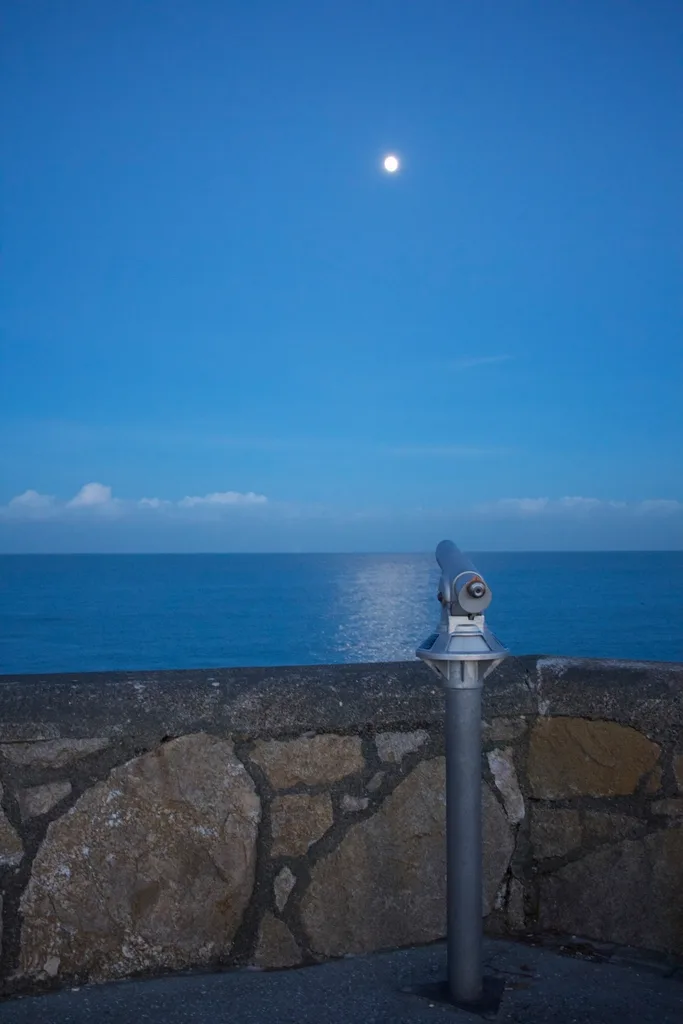
Most first telescopes get put away after one frustrating night, and it is almost never the telescope’s fault. Learning how to use a telescope properly comes down to a handful of steps done in the right order: build it in daylight, align the finder, start on a bright easy target, and use your lowest-power eyepiece first. Get those right and the same scope that showed you nothing will show you the rings of Saturn and the craters along the Moon’s terminator.
This guide walks through the whole process, from unboxing to your first proper view, with the mistakes that trip up beginners flagged as we go.
Do the first setup in daylight, indoors
Never assemble a new telescope for the first time in the dark. Set it up on the kitchen table or in the garden while you can still see what you are doing, and read the manual first. Every model has slightly different hardware, and the parts that feel fiddly by torchlight are obvious in daylight.
Spread the tripod legs, level them on firm ground, and lock them off. A wobbly tripod ruins every view, so make sure it feels solid before anything else goes on. Most beginner scopes sit on an altazimuth (AZ) mount that swings up and down and left and right, which is far more intuitive than an equatorial mount for a first night. If you are still choosing, our guide to the Dobsonian vs equatorial mount explains why simple usually wins early on.
Attach the optical tube to the mount, then fit the finderscope on top of the tube. Check that the focuser moves smoothly and that any eyepieces slot in and clamp firmly.
Align the finderscope (the step everyone skips)
The finderscope is the small sighting scope on top. If it is not aligned with the main tube, you will struggle to find anything beyond the Moon, and this single step is what separates a good first session from a maddening one.
Align it in daylight, never on a star. Point the main telescope at a distant fixed object: a chimney pot, a pylon, the top of a telegraph pole, ideally several hundred metres away. Use your lowest-power eyepiece (the one with the biggest number, usually 25mm or higher) to centre that object in the main scope. Now, without touching the telescope, adjust the finder’s screws until the same object sits dead centre on the finder’s crosshairs. Once done, whatever you centre in the finder at night will land in the eyepiece.
Give the optics time to cool
If the scope has been indoors and you carry it out into a cold night, the glass and the air inside the tube need to reach outside temperature. Until they do, warm currents inside the tube smear and shimmer the image. Twenty to forty minutes outside before you expect sharp views is normal, and larger reflectors take longer. A blurry image is often just a warm telescope, not a fault. Our page on why a telescope shows a blurry image covers the other causes.
Protect your night vision
Set up somewhere with a clear view of the sky and away from direct lights: a porch lamp or streetlight nearby will wreck what you can see. Your eyes take 15 to 20 minutes in darkness to adapt fully, and one glance at a white phone screen resets the lot. Use a red torch, or switch your phone to a red night-vision mode. This one habit reveals far more than any accessory.
Start low, start bright
Always begin with your lowest-power eyepiece. It gives the widest field of view, so targets are much easier to find and stay in view for longer. Point the finder at something big and obvious first: the Moon is the ideal first target, then a bright planet like Jupiter or Saturn.
Centre the object in the finder, look through the main eyepiece, and turn the focus knob slowly until it snaps sharp. Only once you have it centred and focused should you swap to a higher-power eyepiece to zoom in.
The most common technical mistake is reaching for maximum magnification too soon. Higher power spreads the same light over a bigger image, so it looks dimmer and fuzzier, and faint objects can vanish entirely. As a rough ceiling, useful magnification tops out around twice the aperture in millimetres, so a 130mm scope realistically works up to about 260x on a steady night, and less when the air is turbulent. Our guide to telescope aperture explains why aperture, not magnification, is what really matters.
One rule that is never optional
Never point a telescope, or its finderscope, anywhere near the Sun. The concentrated light will permanently blind you in an instant and can destroy the scope. Solar observing needs a proper certified solar filter fitted over the front, and nothing less.
What to look at first
Give yourself easy wins for the first few sessions and confidence follows. Good beginner targets from the UK include:
- The Moon, best a few days either side of first or last quarter, when shadows along the terminator throw the craters into relief.
- Jupiter, showing its cloud bands and four bright moons that shift position night to night.
- Saturn, whose rings are visible even in a small scope and never fail to get a reaction.
- The Orion Nebula (winter) and the Pleiades star cluster, both easy and rewarding.
Once you are comfortable pointing the scope, our guide to finding planets and stars by star hopping shows how to track down fainter targets. If you are still building your kit, see the telescope accessories beginners actually need and our pick of the best telescopes for beginners in the UK.
For a broader starting point on the hobby itself, the complete beginner’s guide to stargazing is the place to begin. For sky charts and current planet positions, the Royal Observatory Greenwich night-sky pages and Stellarium’s free planetarium software are both reliable and free.
Frequently asked questions
How do I use a telescope for the first time without getting frustrated? Assemble and align the finderscope in daylight, let the optics cool outside for at least 20 minutes, then start on the Moon with your lowest-power eyepiece. Those four steps solve the vast majority of first-night problems.
Why can’t I find anything through my telescope? Almost always because the finderscope is not aligned with the main tube. Realign it on a distant fixed object in daylight, and use your widest, lowest-power eyepiece to locate targets before zooming in.
What magnification should a beginner use? Start with the lowest power (the eyepiece with the highest number in millimetres) for finding and framing. Higher magnification dims and softens the view, so only step up once the target is centred and the air is steady.
Why does my telescope image look blurry? The most common cause is optics that have not cooled to outside temperature. Give the scope 20 to 40 minutes outside. Blur can also come from over-magnifying, poor focus, or looking through unsteady air low on the horizon.
Can I look at the Sun with my telescope? Never, unless you have a proper certified solar filter fitted over the front of the tube. Pointing an unfiltered telescope or finderscope at the Sun will cause instant, permanent eye damage.
How long before I can see planets clearly? On your very first properly aligned, cooled-down night. Jupiter and Saturn are bright and easy, and the Moon is unmissable. Fainter deep-sky objects take more practice and darker skies.
Clear skies forecast? Get a nudge.
Our weekly email flags the next good UK observing window and one easy target to find.
Join the listMore from Starvest
Keep reading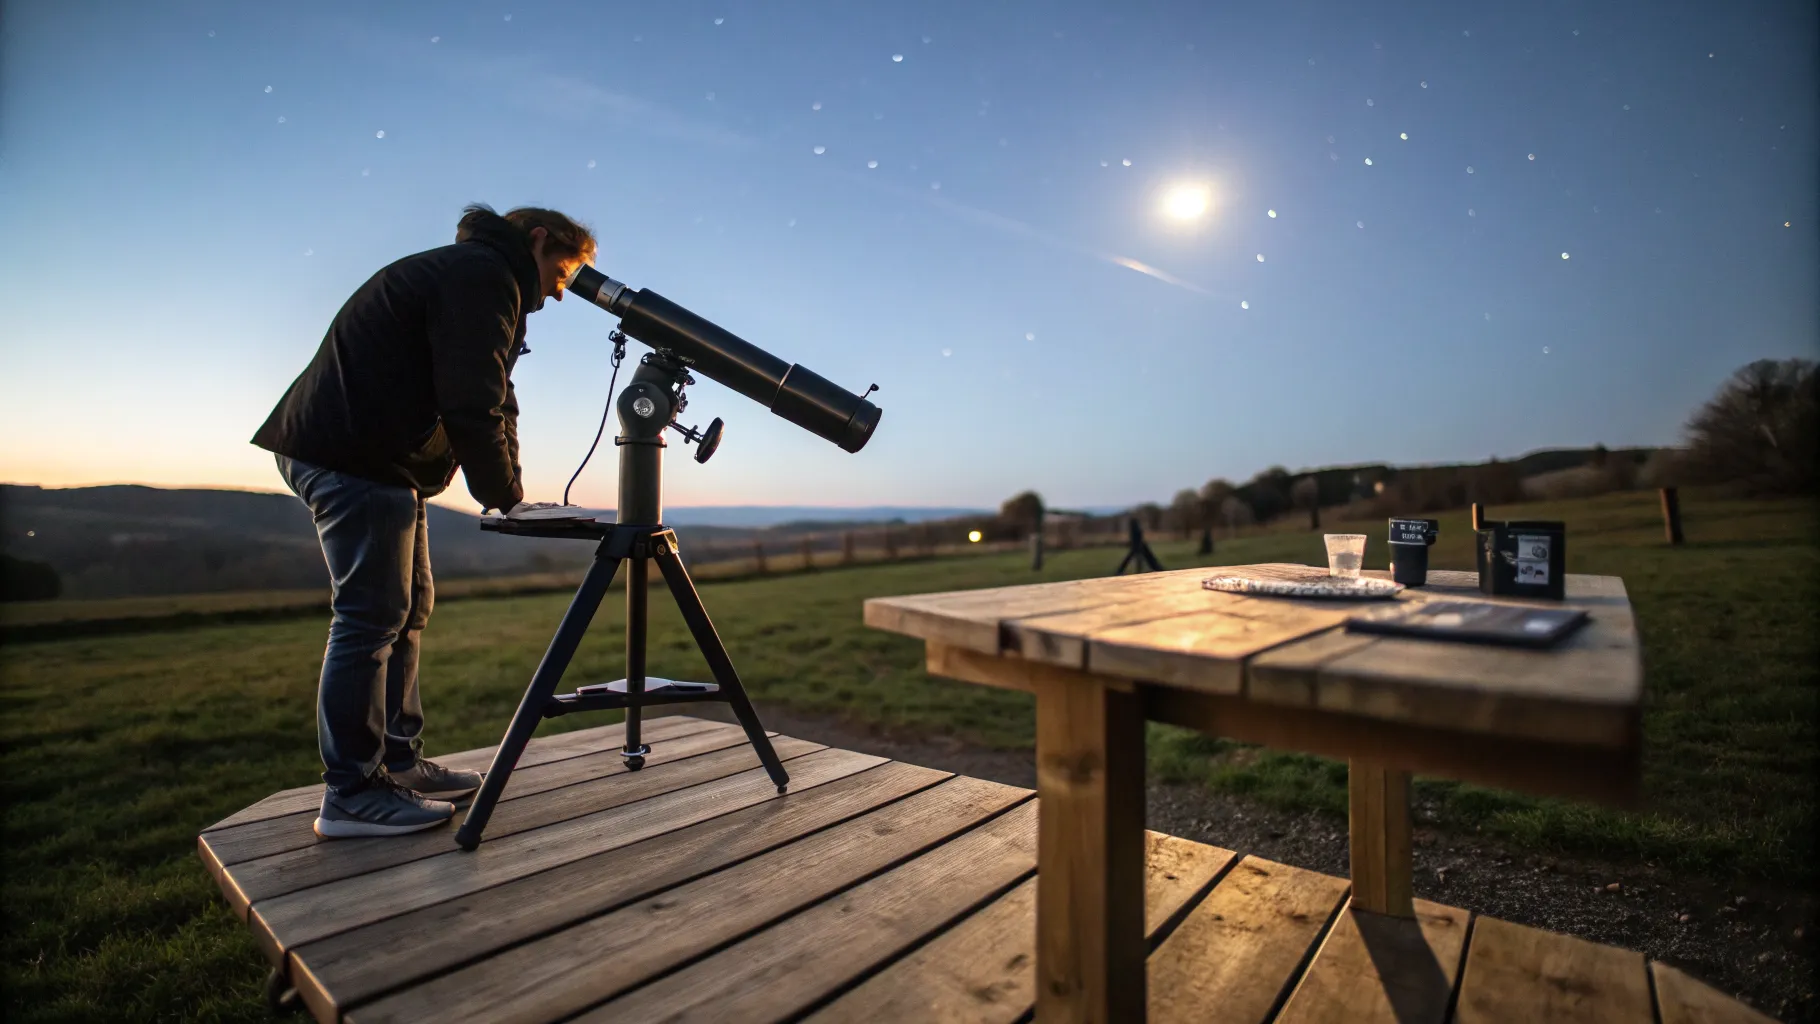
Best Telescopes for Beginners in the UK (Tested by Price Bracket)
The best beginner telescopes in the UK by budget, from sub-£150 tabletop scopes to app-guided and smart telescopes, with real 2026 prices.
What Can You See with Binoculars at Night? A Realistic Astronomy List
A realistic list of what you can see with binoculars in astronomy, from the Moon and Jupiter's moons to Andromeda, with tips for spotting each from the UK.
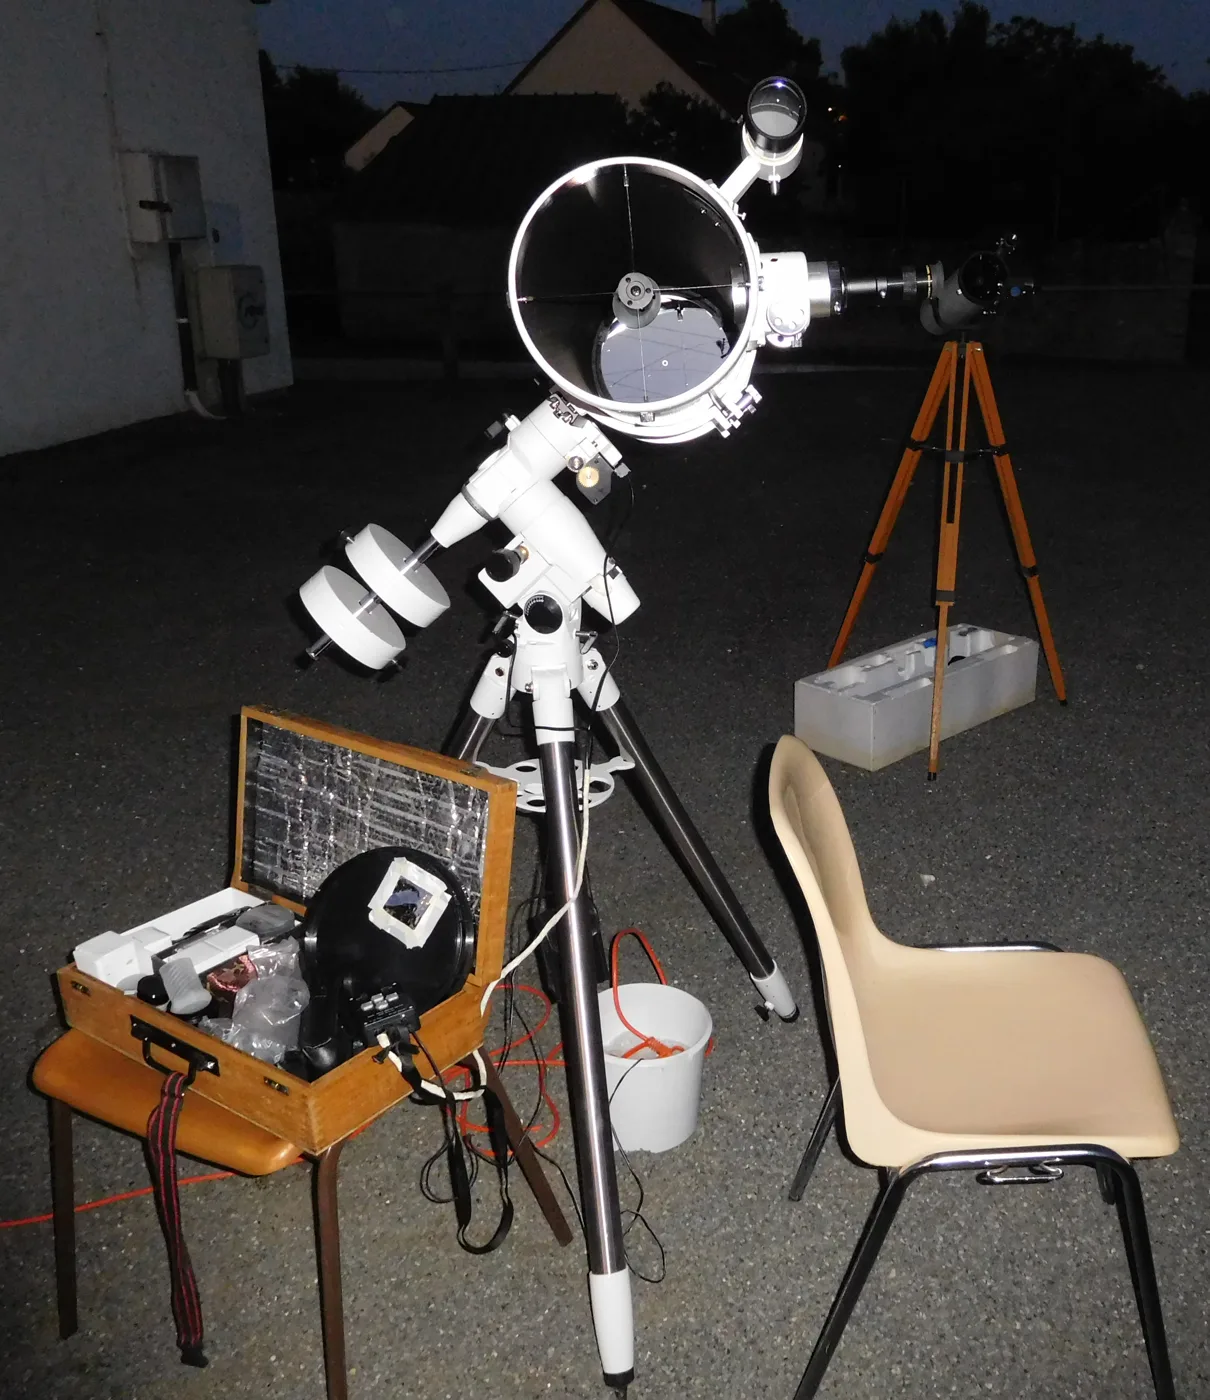
How to Collimate a Telescope (Newtonian Reflector)
How to collimate a telescope step by step, aligning a Newtonian reflector's mirrors with a collimation cap, Cheshire or laser for sharp views.